What Do I Need?
- Any Dedicated or Virtual Server
- Ubuntu
- OpenCV
- Python
What are Depth Maps?
Simply, a depth map is a picture where every pixel has depth information, rather than RGB, and it is normally represented as a grayscale picture. Depth information means the distance of the surface of scene objects from a viewpoint. A depth map contains information about the distance between the surface of objects from a given viewpoint. When this is merged with the source image, a 3D image is created. It will appear as though the original source image has depth to it, giving it an almost lenticular effect. It’s particularly useful if you can use synchronized stereo images. Stereo images are two images with a slight offset. For example, take a picture of an object from the center axis. Move your camera to your right on the straight horizontal plane approximately 6cm while maintaining the object’s location in your center field of view. Look for the same thing in both pictures and infer depth from the difference in position. This is called stereo matching. To achieve the best results in depth map generation be as precise as possible and avoid distortions.
Depth maps have a massive number of uses. Like simulating the effect of uniformly dense semi-transparent media within a scene, i.e. fog, smoke or volumes of water or other liquids. Or simulating shallow depths of field, where parts of a scene appear to be out of focus. Depth maps can be used to selectively blur an image to varying levels or degrees. A shallow depth of field can be a characteristic of macro photography and as such the technique may form a part of the process of miniature faking. Includes a technique called z-buffering and z-culling, which can be used to make the rendering of 3D scenes more efficient. They can be used to identify objects hidden from view and which may therefore be ignored for some rendering purposes. This is also particularly important in real time applications such as computer games, where a fast succession of completed renders must be available in time to be displayed at a regular or fixed rate.
In this how-to guide, we’re going to explore how to use two or more images to derive depth data that can then be interpreted as a grayscale output image demonstrating depth. The resultant output image can then be used to derive a 3D point cloud.
depthMapStereoImgs-stereoBM.py
import
numpy
as
np
import
cv2
from
matplotlib
import
pyplot
as
 plt
imgL = cv2.imread('my_local_environment_l.jpg',cv2.IMREAD_GRAYSCALE)
imgR = cv2.imread('my_local_environment_r.jpg',cv2.IMREAD_GRAYSCALE)
stereo = cv2.StereoBM_create(numDisparities=16, blockSize=15)
disparity = stereo.compute(imgL,imgR)
plt.imshow(disparity,'gray')
plt.show()
depthMapStereoImgs-stereoSGBM.py
import
numpy
as
np
import
cv2
from
matplotlib
import
pyplot
as
 plt
imgL = cv2.imread('my_local_environment_l.jpg',cv2.IMREAD_GRAYSCALE)
imgR = cv2.imread('my_local_environment_r.jpg',cv2.IMREAD_GRAYSCALE)
stereo = cv2.StereoSGBM_create(numDisparities=16, blockSize=15)
disparity = stereo.compute(imgL,imgR)
plt.imshow(disparity,'gray')
plt.show()
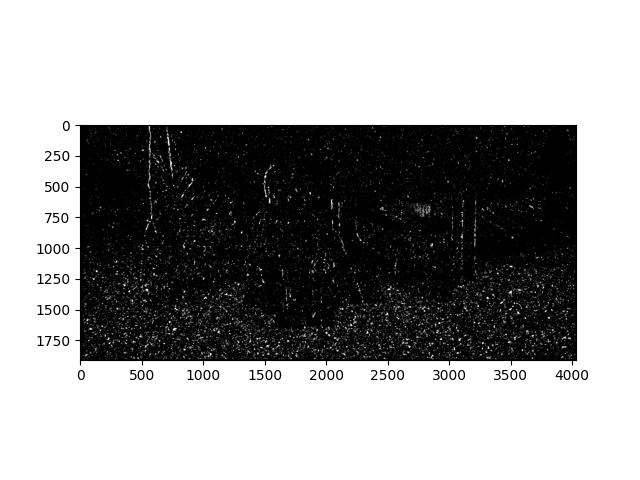
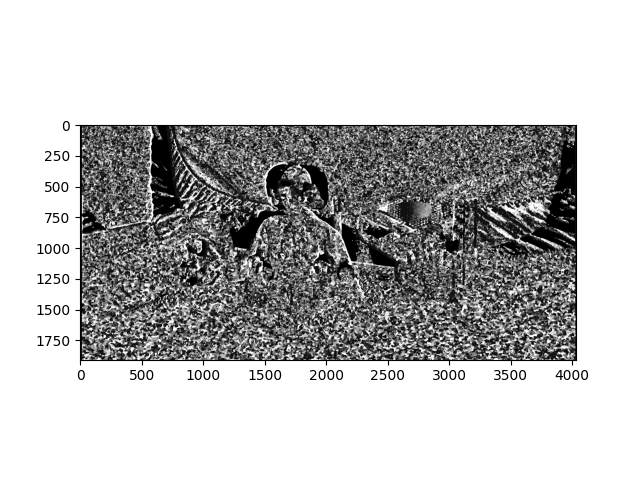
Altering the numDisparities and blockSize values can provide refined results. Normal results are often contaminated with a high degree of noise. With practice, time and patience you can gain results that can be used in later stages of image post-processing.
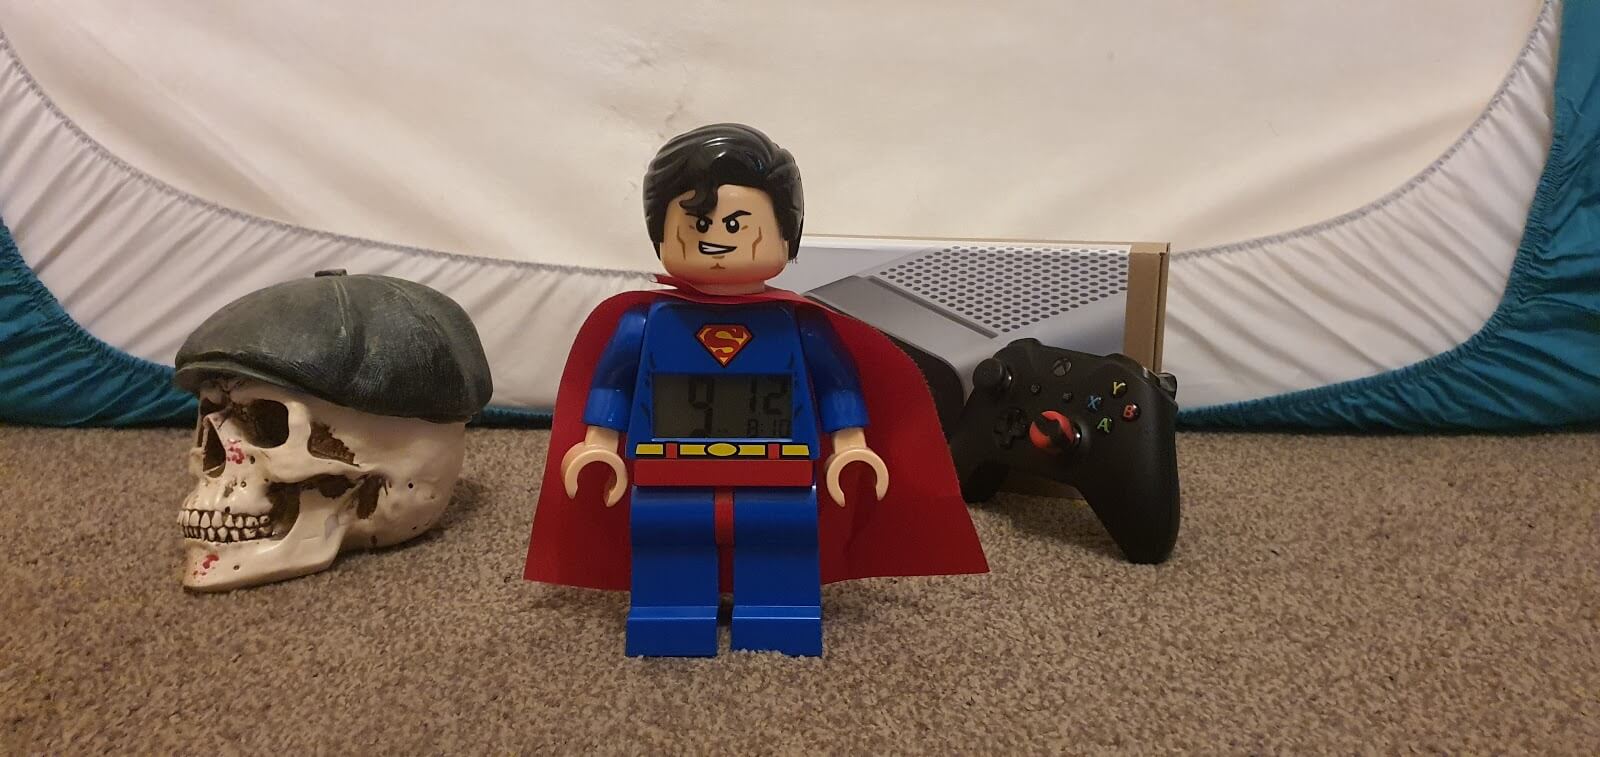
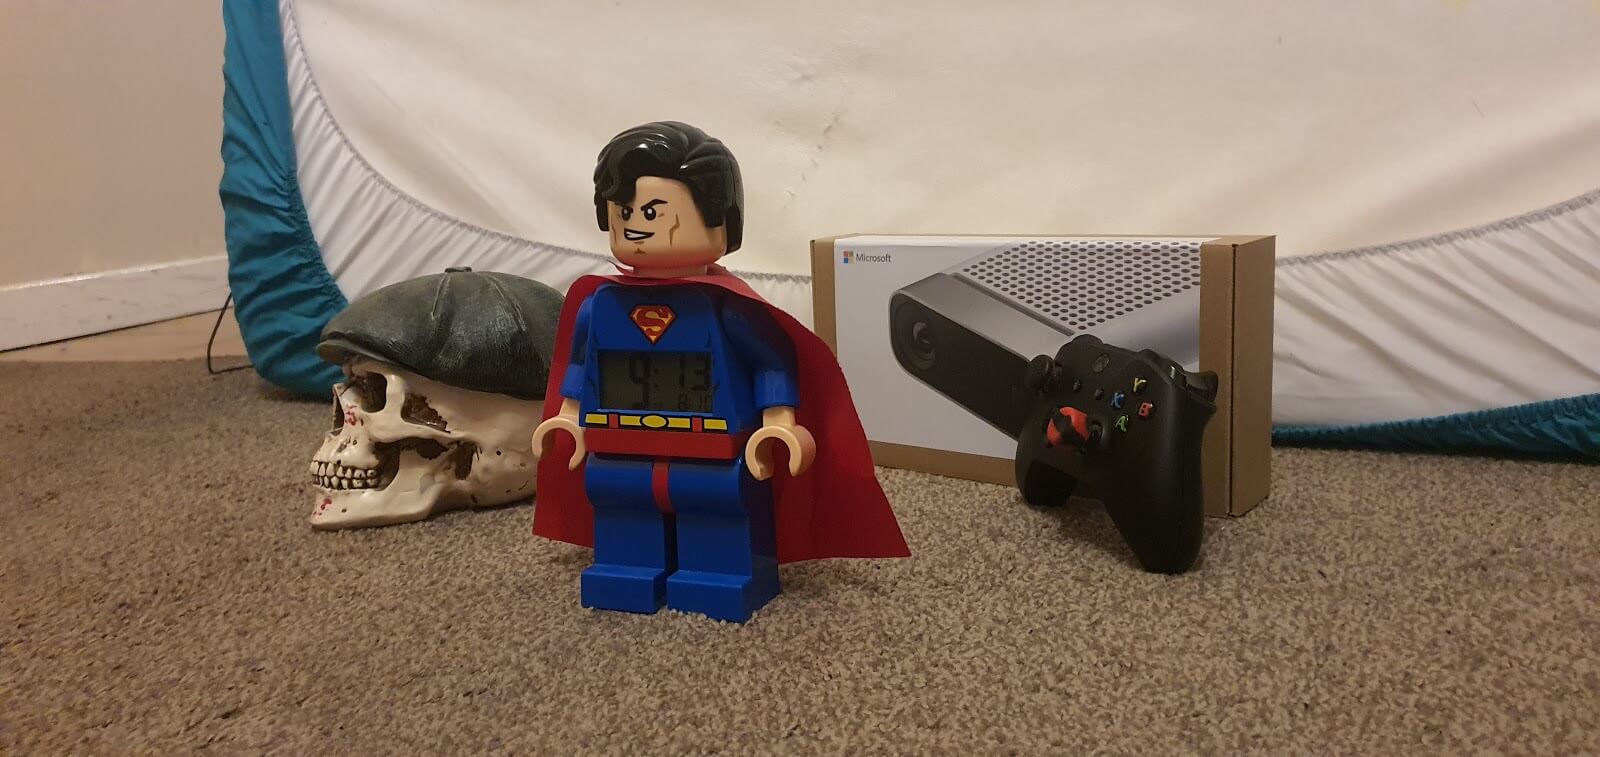
SOURCE IMAGES
 |  |
RAW DEPTH MAP RESULTS
| STEREO-BM (cv2.StereoBM) | STEREO-SGBM (cv2.StereoSGBM) |
 |  |
Conclusion
OpenCV has a lot of image manipulation capabilities and is rapidly evolving into a true powerhouse of computer vision. When working with image stereoscopy noise reduction is hugely important. Using a number of advanced noise reduction schemes you can produce clean depth maps that can be then easily converted into detailed point clouds for 3D model generation. The more you look at this stuff the more exciting it gets.
Download Depth Images Scripts and Images
- You can discover new info about Best website hosting by clicking this link.


